
Introduction
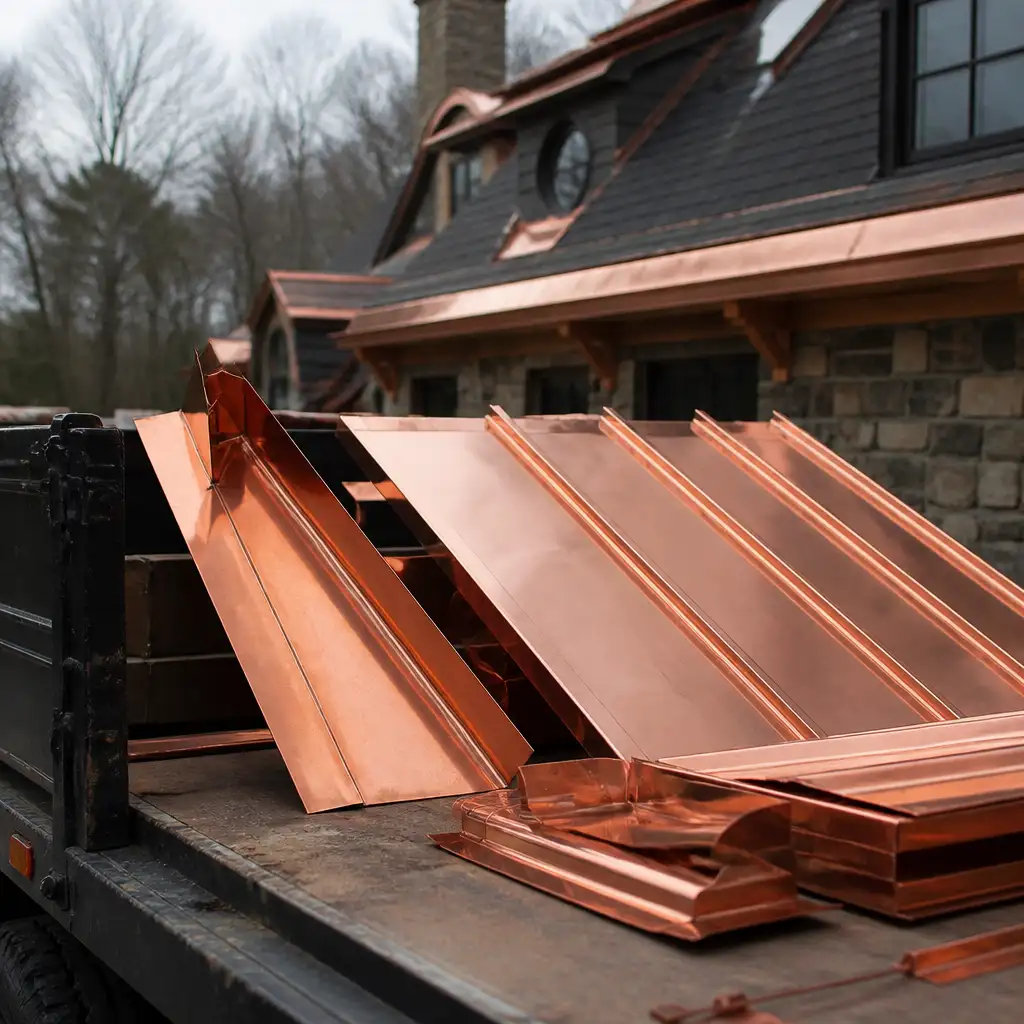
Accurate shop drawings, templates and field measurements are the foundation of successful custom copper fabrication. For contractors working on Southcoast Massachusetts and New England projects, small measurement errors quickly turn into costly rework, delayed lead times and frustrated clients. This guide is written specifically for roofing contractors, suppliers, builders and architectural metal trades who rely on precise fabrication to meet demanding jobsite conditions.
As a trade-only fabrication partner, Cape Cod Copper understands the practical realities you face on coastal and historic projects: irregular substrates, complex roof geometry, field adjustments and tight schedules. That experience is reflected throughout these recommendations so you can reduce uncertainty and speed production without compromising craftsmanship.
The guidance that follows covers what to prepare before you set foot on the roof, best practices for taking measurements, annotating shop drawings, delivering templates and common pitfalls to avoid. Use this as a contractor checklist to streamline submissions to the shop and help ensure parts are made right the first time. If you already work with Cape Cod Copper, these steps will align with our expectations and help shorten turnaround on your next order.
Key takeaways include: how to document tolerances, what photographs and dimensions to collect, how to present piping and flashing interfaces on drawings, and when to provide full-size patterns or mock-ups for complex profiles.
- Introduction
- Why accurate shop drawings matter for custom copper fabrication
- Pre-site prep: documents and data contractors should gather
- Field measurement best practices for copper components
- Preparing and annotating shop drawings for fabrication
- Templates, patterns and physical mock-ups: when and how to deliver
- Common errors, troubleshooting and reducing rework in Southcoast projects
- Frequently Asked Questions
Why accurate shop drawings matter for custom copper fabrication
Shop drawings communicate intent to the fab shop. They are not concept sketches; they are fabrication instructions. Clear drawings reduce the number of clarification cycles, allow precise nesting of parts, and ensure that soldered, seamed or mechanically-joined copper components fit installed conditions. For trade partners, solid shop drawings translate directly to predictable lead times and fewer site callbacks.
In coastal Massachusetts projects, tolerance for error is smaller because roof geometry often includes historic details, curved elements and tricky transitions at copings and chimneys. Providing accurate measurements and complete drawings helps fabricators plan for material usage—especially when working with heavier gauges like 16 oz or 20 oz copper—and select appropriate forming and seaming methods.
Finally, accurate shop drawings protect liability. When dimensions, pitch, anchorage locations and interface conditions are documented, the fabricator and contractor share a clear record of expectations. This makes it easier to address field-created changes and to agree on modifications when they are necessary.
Pre-site prep: documents and data contractors should gather
Before scheduling field measurements, assemble available project documents: roof plans, elevations, architectural details, specification sections, and any existing shop drawings. Highlight reference points and known fixed conditions such as ridge lines, plate lines and parapet copings. Having a consolidated packet reduces site time and ensures nothing is overlooked.
Photographs are essential. Capture wide-context photos showing the roof in relation to building edges, nearby walls and chimneys, plus close-ups of the interface details where copper will meet masonry, flashings or rainwater systems. Mark photograph directions on your notes so the fabricator can understand orientation. These images complement drawings and are particularly helpful when dealing with complex intersections.
Verify specified copper gauge and finish with the project documents and the fabricator before measuring. If the project requires lead-coated copper or heavier gauges for historic restoration, note that on your submission to avoid fabrication surprises. Early clarification helps the shop plan tooling and forming operations for proper results.
Field measurement best practices for copper components
Take measurements from defined datum points—such as baseline corners, ridge centres, or control lines—to reduce cumulative error. Use tapes anchored at fixed points rather than relying on visual estimates. For long runs, measure in segments and record both individual segment lengths and total run length. Include slope/pitch measurements where relevant, and specify whether measurements are taken along the plane or projected horizontally.
Measure termination and attachment points precisely. For flashings and roof panels this includes ridge and eave distances, chimney offsets, wall return distances and gutter drop locations. Document existing nailer locations, blocking, or metal decking that will affect attachment. If you find obstructions or rotten substrate, photograph and annotate these locations and flag them for on-site repair prior to installation.
For complex radii, hips or curved gutters provide chord and arc measurements: record radius, arc length and centre point where possible. When measuring double-curved surfaces, consider providing a full-size template or employing a template board cut to the profile—this avoids ambiguity and reduces rework in the shop.
Preparing and annotating shop drawings for fabrication
Prepare shop drawings to scale using clear linework, dimensioned views and notes that specify material, gauge, seam type, soldering requirements and finish. Include plan, elevation and section views where needed so the fabricator can visualise vertical interfaces. Call out critical dimensions in bold or a distinct layer to prevent them being overlooked.
Annotate tolerances and special instructions. For instance, indicate whether the fabricator should allow for expansion joints, thermal movement or seam overlaps beyond standard practice. If field conditions require on-site trimming, state that explicitly. These notes help the shop decide whether to shop-form the part for final fit or leave allowances for field finishing.
When drawings deviate from standards—such as non-standard gutter profiles or custom leader heads—include a short manufacturing note summarising the fabrication method you expect (e.g., hand-formed radius, CNC-brake formed with standing seams). Providing this context saves time during the estimating and planning phase.
Templates, patterns and physical mock-ups: when and how to deliver
Know when a full-size template is required. Templates are essential for one-off or complex pieces like bay window roofing panels, custom chimney caps, or ornate leader boxes where precise fit is non-negotiable. If you make a template on a sheet of plywood or cardboard, label it with the project name, orientation, top/bottom and indicate where it was fixed when measured.
Deliver templates to the fabricator protected from bending and moisture. Roll or box templates to prevent warping and include a photo showing the template in place relative to permanent features. Where physical delivery is impractical, create a full-size digital pattern with clear scale and printable marks, but confirm print accuracy with the shop before relying on it for final fit.
Mock-ups are recommended on unfamiliar details or when introducing a new profile to a historic building. A small shop mock-up validates forming methods and attachment details before committing to full production. Discuss mock-up requirements with the fabricator early so it can be scheduled into the shop work flow.
Common errors, troubleshooting and reducing rework in Southcoast projects
Common issues include using inconsistent datum points, failing to account for roof pitch, and omitting attachment or substrate details. To avoid these, use standardised measurement forms and always double-check critical dimensions against at least two reference points. In maritime climates, allow for corrosion allowances and potential future movement at masonry interfaces.
When the shop flags a discrepancy, respond with photos and, if necessary, a follow-up site measurement to confirm. Rapid clarification prevents incorrect fabrication and is far less costly than remaking parts. Keep communications in writing where possible to create a clear record of agreed changes.
Plan for lead times and sequencing. Custom copper fabrication requires planning for forming, seaming and finishing operations. Provide the fabricator with your installation schedule, and notify them promptly of any scope changes. On Southcoast projects with limited access or staging restrictions, early coordination saves time and reduces logistic complications.
Frequently Asked Questions
Q: What level of drawing detail does the fabricator need for a simple gutter run?
A: For straight gutter runs, provide an overall length, number and location of outlets, end conditions and support spacing, plus the specified profile and gauge. A scaled plan view and a section showing overflow or outlet dimensions are usually sufficient. If the run includes curved sections, supply radii or templates.
Q: When should I provide a full-size template versus a measured drawing?
A: Use full-size templates for complex, non-repetitive shapes or when the interface is irregular—chimney caps with offsets, custom bay panels, ornate leader boxes. For standard flashings and straight panels, accurate measured drawings with photos are typically adequate.
Q: How do we handle on-site adjustments discovered after parts are fabricated?
A: Communicate immediately with the fabricator with photos and new measurements. Small field adjustments can sometimes be accommodated on-site; larger mismatches may require rework or replacement. Document the change order and agree on who is responsible for corrective work before proceeding.
Working from drawings, field measurements, or a custom detail? Cape Cod Copper partners with trade professionals to fabricate copper components made to fit the job, from custom flashings and roof panels to leader heads, chimney caps, vents, and decorative architectural details. Call (508) 946-1999 or email capecodcopper2@gmail.com to review your project requirements.