
Introduction
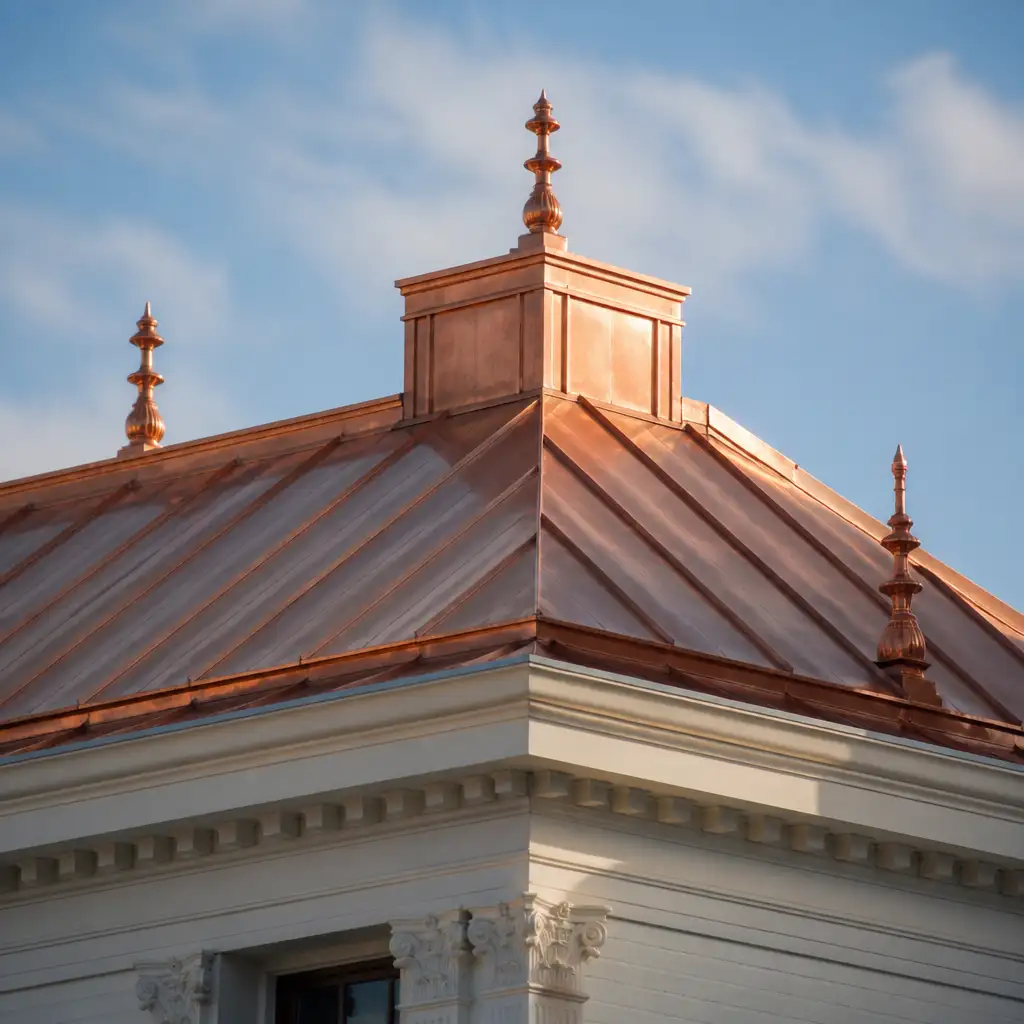
For preservation contractors working on historic buildings in Massachusetts, copper leader boxes are more than plumbing accessories — they are architectural features that convey period character and craftsmanship. This article focuses on practical, field-tested guidance for assessing the condition of existing copper leader boxes and finials, documenting original fabrications, making repair versus replicate decisions, and managing fabricator-led reproductions. The target keyword copper leader boxes is integrated throughout to help trade professionals find detailed restoration guidance relevant to New England projects.
The guidance here is written for roofing contractors, restoration specialists, architectural metal contractors, and suppliers who must balance preservation ethics, jobsite realities, and fabrication constraints. It assumes you work with measured drawings, field templates, and trade partners rather than serving a retail audience. Where applicable, regional factors such as coastal exposure, freeze-thaw cycles, and traditional New England architectural details are called out.
Key takeaways include a condition-assessment checklist, documentation standards for measured drawings and templates, criteria for repair versus full replication, methods for patina matching, and fabrication workflows for one-off leader boxes and decorative finials. The article also highlights how contractor-fabricator collaboration can reduce rework and preserve historic fabric when possible.
Throughout the piece we reference fabrication and product categories relevant to the work, including leader boxes and finials, gutters and downspouts, and traditional roofing flashings to support integrated restoration strategies.
- Introduction
- Condition Assessment Checklist for Copper Leader Boxes
- Documenting Original Fabrication: Measured Drawings and Templates
- Repair Versus Replicate: Decision Factors for Restoration Projects
- Patina Matching and Surface Conservation Techniques
- One-off Fabrication and Reproduction Processes for Leader Boxes and Finials
- Site Considerations and Installation Best Practices in Massachusetts
- Frequently Asked Questions
Condition Assessment Checklist for Copper Leader Boxes
Begin every restoration with a systematic condition assessment. Walk the building with a clear scope: identify every leader box, leader head, and finial, noting whether each element is original, later replacement, or missing entirely. Use checklists, high-resolution photographs, and condition tags to ensure repeatability across site visits and subcontractors.
Inspect for common performance and deterioration issues: open seams, pinholes, active leaks, metal loss at weep outlets, deformation from impact, evidence of galvanic corrosion at contact points with iron or steel, and failed solder joints. Pay particular attention to hidden attachment points — where leader boxes tie into gutters, downspouts, or roof flashings — since failures at those junctions often cause secondary water damage.
Record structural soundness separately from surface condition. A leader box with a compromised shoulder or flange that no longer supports its weight requires a different intervention than a piece with only a cosmetic patina mismatch. Also document how water flows through the system under test conditions; run water through gutters and into leader boxes to locate overflow points, blockages, or misalignments.
Include material notes in your assessment: gauge (commonly 16 oz, 20 oz, or 24 oz copper), evidence of lead-coated copper, interior linings, and original seam types (hand-soldered seams versus folded seams). These details guide repair techniques and help determine if in-kind replacement is necessary to meet both structural needs and historic accuracy.
Documenting Original Fabrication: Measured Drawings and Templates
Comprehensive documentation is the backbone of accurate restoration. Measured drawings should include overall dimensions, throat sizes, inlet and outlet offsets, attachment flanges, and finial mount details. When possible, produce full-scale templates of critical profiles and junctions to preserve the exact geometry of curved or tapered leader boxes.
Photogrammetry and scaled photography are useful for complex profiles but do not replace physical templates for fabrication. For unusually shaped leader heads or one-off finials, bring back a physical pattern to the shop when removal is possible without damage. If removal is not feasible, detailed sketches with multiple measured cross sections and elevation views will suffice for shop fabrication.
Document original fabrication techniques: note whether seams were soft-soldered, hard-soldered, or mechanically seamed, and record any decorative tooling or stamping. These process notes guide the fabricator on joint design, seam preparation, and whether to match original solder composition for aesthetic or conservation reasons.
Store documentation within the project record and share it with your fabricator early. A shared set of measured drawings and photos reduces shop-to-field discrepancies and supports one-off fabrication runs that fit the existing roof and roof drainage systems precisely.
Repair Versus Replicate: Decision Factors for Restoration Projects
Choosing whether to repair an existing copper leader box or to replicate it requires weighing several factors: extent of metal loss, structural integrity, availability of original fabrication details, historic significance, and long-term maintenance expectations. Preservation standards typically prioritize repair where feasible, but safety and durability cannot be compromised.
Repair is preferable when the piece retains its overall form, attachment points are sound, and deterioration is limited to surface corrosion or isolated pinholes. Repairs can include patching with like-gauge copper, re-soldering seams, mechanical reinforcement, and localized reshaping. Use soldering and mechanical techniques consistent with the documented original whenever practical to retain historic value.
Replication is warranted when the original is too compromised to function safely, when the original attachment or geometry cannot be restored without substantial replacement, or when code and performance upgrades are required. Replication should be based on the best available documentation and crafted to match visible profiles, seams, and finish so the new element integrates visually with surviving fabric.
In deciding, consult with preservation authorities and the project’s design team. For projects in Massachusetts and New England, factor in environmental loads — such as coastal wind and ice — and the client’s expectations for longevity versus maximum retention of original material. When in doubt, create a reversible repair design and document the rationale for replication in the project record.
Patina Matching and Surface Conservation Techniques
Surface appearance strongly influences the perceived success of a restoration. Patina matching requires both material and process considerations. New copper patinas naturally over years; accelerated chemical patination and mechanical finishing can be used to match an existing surface more quickly, but the process must be carefully controlled to avoid an artificial look.
Start by sampling small, inconspicuous areas. Test patination processes on like-gauge scrap copper to find the right color, sheen, and streaking before treating shop-fabricated pieces. Note that coastal exposure and local pollutants produce specific patina characteristics in New England; a reproduction intended for a coastal Massachusetts building may need a subtly different tone than one for an inland structure.
When matching surfaces, also consider surface finish: mill finish, brushed, or applied lacquers change the appearance and the way the metal ages. Preservation work often favors leaving the piece untreated to evolve naturally after installation, but in some cases a clear protective coating is specified to slow patination or protect adjacent materials.
Document the chosen patination method in the project file. Include time-in-field expectations so future maintenance crews understand whether the finish will darken or develop an even green patina over coming seasons.
One-off Fabrication and Reproduction Processes for Leader Boxes and Finials
One-off reproduction of leader boxes and finials is a core capability for trade-focused fabricators. The process typically begins with the measured drawings and templates produced during documentation. Fabrication shops use those templates to create patterns and then translate them into shop layouts for cutting, forming, and seam work.
Fabrication techniques for one-off pieces can include CNC cutting for repeatable parts, precision forming on brake presses, hand-forming for compound curves, and traditional soldering or mechanical seams depending on the design. For decorative finials, metal spinning, hand-hammering, or welded sub-assemblies are common. Discuss the preferred assembly and seam types with your fabricator to ensure field compatibility with existing roofing and drainage systems.
Cape Cod Copper and similar architectural shops can produce limited-run or single-piece reproductions from measured drawings, photos, or templates. When ordering, specify material gauge, seam type, inlet/outlet dimensions, mounting details, and surface finish or patina requirements. Clear shop drawings and pre-production mockups reduce surprises during installation and ensure the one-off piece fits the historic roof geometry.
For complex reproductions, ask the fabricator for staged approvals: initial shop drawings, pre-assembly photos, and an optional mockup. These checkpoints help catch issues with offsets, flange clearances, or finial attachment that are costly to correct in the field.
Site Considerations and Installation Best Practices in Massachusetts
Installation of repaired or replicated leader boxes must account for regional site conditions. Coastal Massachusetts projects face salty air and increased corrosion potential, while inland sites contend with freeze-thaw cycles that can stress solder joints and attachment points. Secure mechanical anchorage, flexible couplings, and appropriate clearances reduce maintenance risks in both environments.
Coordinate leader box work with roofing and gutter trades. An integrated approach ensures that leader boxes interface properly with copper gutters and downspouts and that runoff paths are established to prevent ponding or ice formation. Reference the building’s existing roof flashings and consider ordering custom copper flashings and panels when transitions are irregular; related information is available on our roofing panels and flashings resource.
When fastening new or repaired pieces, avoid direct contact with dissimilar metals to prevent galvanic corrosion. Use appropriate non-ferrous fasteners and isolation materials. Where the original used concealed connections, reproduce those details where possible to preserve the historic appearance while meeting modern attachment standards.
Before closing seams or installing new leader boxes, perform a pre-installation water test to verify proper flow and attachment integrity. This field testing helps catch misalignments and ensures the finished installation meets performance expectations for Massachusetts weather cycles.
Frequently Asked Questions
Q: How do I determine whether a historic leader box should be repaired or replaced?
A: Assess the extent of metal loss, structural soundness, and attachment integrity. If the box retains form and attachments and deterioration is localized, repair is often preferred. If seams, attachment points, or geometry are irreparably compromised, replication from measured drawings is appropriate.
Q: What documentation should I provide to a fabricator for a one-off reproduction?
A: Provide measured drawings, full-scale templates or patterns if available, detailed photos from multiple angles, material gauge, preferred seam type, inlet/outlet dimensions, and any patina or finish requirements. Early shop drawings and mockups help ensure fit and appearance.
Q: Can patina be matched exactly for a new leader box or finial?
A: Patina matching is achievable to a close visual match using tested chemical treatments and finishing techniques, but exact replication of decades-old weathering is rarely identical. Test treatments in the shop on scrap, document the process, and plan for natural aging post-installation for the best long-term result.
Working from drawings, field measurements, or a custom detail? Cape Cod Copper partners with trade professionals to fabricate copper components made to fit the job, from custom flashings and roof panels to leader heads, chimney caps, vents, and decorative architectural details. Call (508) 946-1999 or email capecodcopper2@gmail.com to review your project requirements.