
Introduction
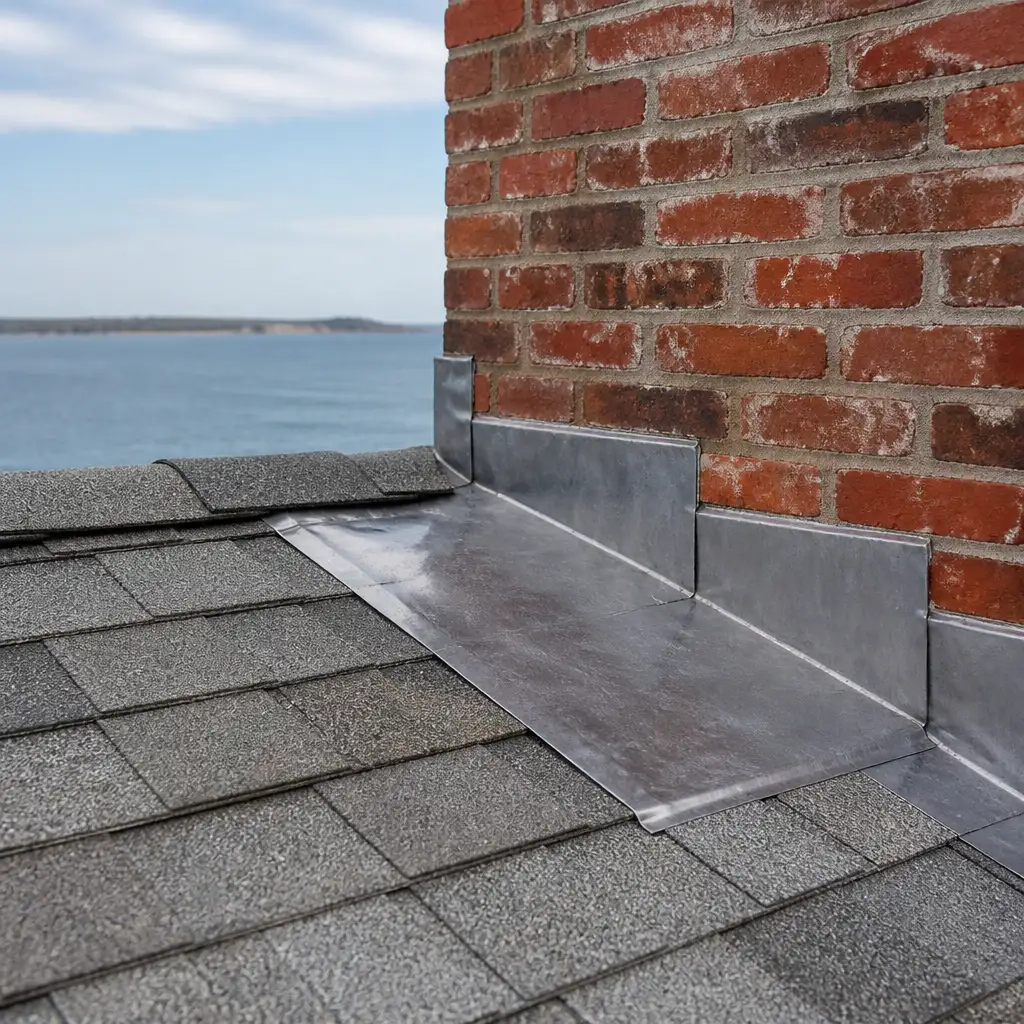
For roofing contractors, architectural metal fabricators, and specifying architects working along the Southcoast of Massachusetts, choosing the right flashing material is a long-term decision that affects durability, maintenance, and compatibility with adjacent materials. This article focuses on custom copper fabrication and, specifically, when to specify lead-coated copper for coastal flashings in Southcoast Massachusetts and other coastal New England locations.
We’ll examine practical performance differences between lead-coated copper and standard copper, highlight fabrication and shop-handling requirements, and outline soldering and installation precautions that matter for coastal exposures. The guidance is written for trade professionals—contractors, suppliers, and architects—who rely on accurate specification language and clear fabrication notes.
Cape Cod Copper is a family-owned, trade-only copper fabricator serving Massachusetts and New England; the recommendations that follow reflect regional experience with coastal masonry, salt-laden air, and the preservation requirements common to historic and new construction across Cape Cod and Southeastern Massachusetts.
Key takeaways include when lead-coated copper is appropriate, how it compares to standard copper for flashings, practical shop notes for drawings and fabrication, and on-site handling and soldering precautions to ensure long-term performance in coastal conditions.
- Introduction
- When lead-coated copper is appropriate for coastal flashings
- Comparing lead-coated copper to standard copper for flashings
- Fabrication considerations in the shop
- Soldering and field precautions for lead-coated flashings
- Long-term performance and maintenance on the Southcoast
- Recommended notes for shop drawings and specifications
- Frequently Asked Questions
When lead-coated copper is appropriate for coastal flashings
Lead-coated copper is a specialty product used selectively where material compatibility or accelerated corrosion risk suggests benefits over bare copper. In coastal Massachusetts, common situations where lead-coated copper can be appropriate include flashings in direct contact with lime-based mortar, stone or masonry that can react with bare copper, interfaces with existing lead work, and historic restoration projects that require matching existing lead-lined details.
Another frequent justification is where the design specifies a softer, more malleable facing to allow detailing at complex terminations—such as step flashings embedded in rubble or historic masonry—while preserving the structural strength of copper. In some preservation projects on Cape Cod and throughout Southeastern Massachusetts, specifying lead-coated copper maintains the intended visual and material continuity with traditional lead flashings while leveraging copper’s fabrication advantages.
That said, lead-coated copper should not be a default choice for every coastal flashing. Use it where there is a documented compatibility need, a specified historic requirement, or a known field condition—salt-exposed mortar beds, contact with dissimilar metals where crevice corrosion could develop, or details calling for a lead-like appearance and behavior.
Comparing lead-coated copper to standard copper for flashings
Standard copper has excellent corrosion resistance and forms a stable patina over time, which is often adequate for coastal flashings. Lead-coated copper differs in having a thin outer coating of a lead-alloy applied to the copper substrate. The coating can improve certain compatibility factors where copper alone may react with adjacent materials or where a lead-like surface is desired for appearance or historic match.
From a mechanical standpoint, the copper substrate provides strength and ductility, while the lead coating offers a softer, more conformable surface. This can be advantageous at embedded or bedded flashings where intimate contact with masonry demands a compliant surface to prevent point stresses or to match an existing lead flashing profile. Aesthetically, lead-coated copper retains a look closer to traditional lead for a longer period before the copper patina becomes obvious.
Consider galvanic and contact corrosion risks when specifying either material. Although copper is generally compatible with common roofing materials, contact between bare copper and certain mortars, concrete, or metals under aggressive coastal exposures can cause local degradation. Lead-coated copper may mitigate some of these interactions, but specification must be based on documented conditions and not assumed as a universal cure.
Fabrication considerations in the shop
Custom copper fabrication of lead-coated components requires shop processes that protect the coating while maintaining dimensional accuracy. Fabrication shops should confirm coating type and thickness on submittals, hold material properly to prevent abrasion, and avoid excessive tool marks that compromise the outer surface. Work such as bending, hemming, and rolling should be planned to minimize damage to the coating along edges and seams.
Where seams are required, consider standing seams, mechanical locking, or soldered seams depending on the detail and accessibility. If soldering is part of the assembly, coordinate the seam strategy with the coating characteristics because the coating can affect wetting and joint preparation. For many flashings, properly designed mechanical seams can reduce dependence on soldering and preserve the coating surface.
Handling in the shop also matters: storage on padded, non-abrasive surfaces, limited stacking, and protective packing for shipment to coastal job sites will reduce the risk of coating damage in transit. Include clear labeling for orientation (exposed side vs. back) and provide handling instructions for the field crew to avoid scraping during installation.
Soldering and field precautions for lead-coated flashings
Soldering lead-coated copper requires careful attention. The coating can alter how solder and flux behave on the surface. Before specifying soldered joints, confirm the intended solder alloy and flux compatibility with the coating. In some cases, a flux designed for lead alloys or a mechanical joint may be preferable to reduce the risk of burning off the coating or creating a brittle joint.
Field teams must be briefed on heat control and joint technique. Excessive torch heat can damage the coating and underlying copper; work in short, controlled passes and avoid prolonged localized heating. When using solder that contains lead, follow project health and safety requirements for handling and waste, and ensure compliance with local codes that may restrict certain solders for particular applications.
At the flashing-to-masonry interface, provide a slip or isolation layer where required to prevent direct abrasive contact during thermal movement. Sealants should be selected for adhesion to lead-coated surfaces, and compatibility tests are recommended if the sealant manufacturer does not list lead-coated copper among approved substrates.
Long-term performance and maintenance on the Southcoast
Coastal Massachusetts presents unique long-term exposure conditions: salt spray, freeze-thaw cycles, and UV exposure all influence how flashing materials age. Lead-coated copper can perform well in this environment when properly specified and installed, but it will require the same attention to detailing as any high-performance flashing—proper drainage, anchorage that accommodates movement, and avoidance of trapped moisture.
Inspection intervals for coastal flashings should be more frequent than inland locations. During inspections look for mechanical damage to the coating, separation at seams, and any signs of unusual corrosion where dissimilar metals meet. Address small issues early—minor dents or breached coating can be repaired in the shop or with approved field patches depending on size and location.
When planning for long-term performance, include compatibility checks with adjacent materials used in coastal projects on Cape Cod and throughout New England. Where flashings abut zinc, stainless, or painted metals, specify appropriate isolation or choose fasteners that prevent galvanic action. Routine maintenance and timely repair will preserve the flashing’s service life and prevent damage to roofing assemblies and masonry.
Recommended notes for shop drawings and specifications
To make shop drawings and fabrication notes useful for contractors and field crews, include clear, concise items that address material, coating, joint types, and handling. Suggested notes to include on shop drawings are: specified substrate and coating description, direction of finish (exposed face), coating thickness and manufacturer, and acceptable forming radii to prevent coating cracking.
Also specify seam types (e.g., 1.5″ standing seam with mechanical lock, hemmed edges with 3/8″ return), recommended solder alloy or mechanical fastener types, and isolation or slip joint details where the flashings meet masonry. Add installation notes for field crews: suggested fastener spacing, recommended sealants with adhesion compatibility to lead-coated surfaces, and instructions for protecting the coating during installation and after completion.
Finally, a short handling and storage note helps avoid damaged shipments: store flat or on soft supports, limit stacking height, and use protective wrapping for coastal transit. If project specifications require testing or mock-ups, indicate that on the drawing so the contractor can allow time for approval prior to production. Including these practical items reduces RFIs and ensures the fabricated pieces fit the field conditions when they arrive on site.
Frequently Asked Questions
Q: When should I choose lead-coated copper instead of standard copper for a coastal flashing detail?
A: Specify lead-coated copper when compatibility with mortar or existing lead work is required, when a softer external surface is needed for embedded flashings, or when a historic match is called for. Use standard copper where such compatibility or historic continuity is not a factor and where a long-term copper patina is acceptable.
Q: Are there special soldering requirements for lead-coated copper flashings?
A: Yes. Confirm solder alloy and flux compatibility with the coating, avoid excessive localized heat that can damage the coating, and consider mechanical seams where practical. Follow safety and local code requirements when using solders that contain lead.
Q: What key fabrication notes should I include on shop drawings for lead-coated copper flashings?
A: Include material and coating specifications, exposed-face orientation, seam and hem details, recommended solder or mechanical seam type, isolation details at masonry joints, handling instructions, and sealing recommendations. Clear notes reduce installation issues and protect the coating during fieldwork.
For custom fabrication inquiries and to discuss how lead-coated copper may fit your project requirements, reach out to the fabricator early in the design phase. Early coordination on material selection and detail resolution reduces costly field changes and ensures the flashing performs as intended in coastal New England conditions.
Working from drawings, field measurements, or a custom detail? Cape Cod Copper partners with trade professionals to fabricate copper components made to fit the job, from custom flashings and roof panels to leader heads, chimney caps, vents, and decorative architectural details. Call (508) 946-1999 or email capecodcopper2@gmail.com to review your project requirements.