
Introduction
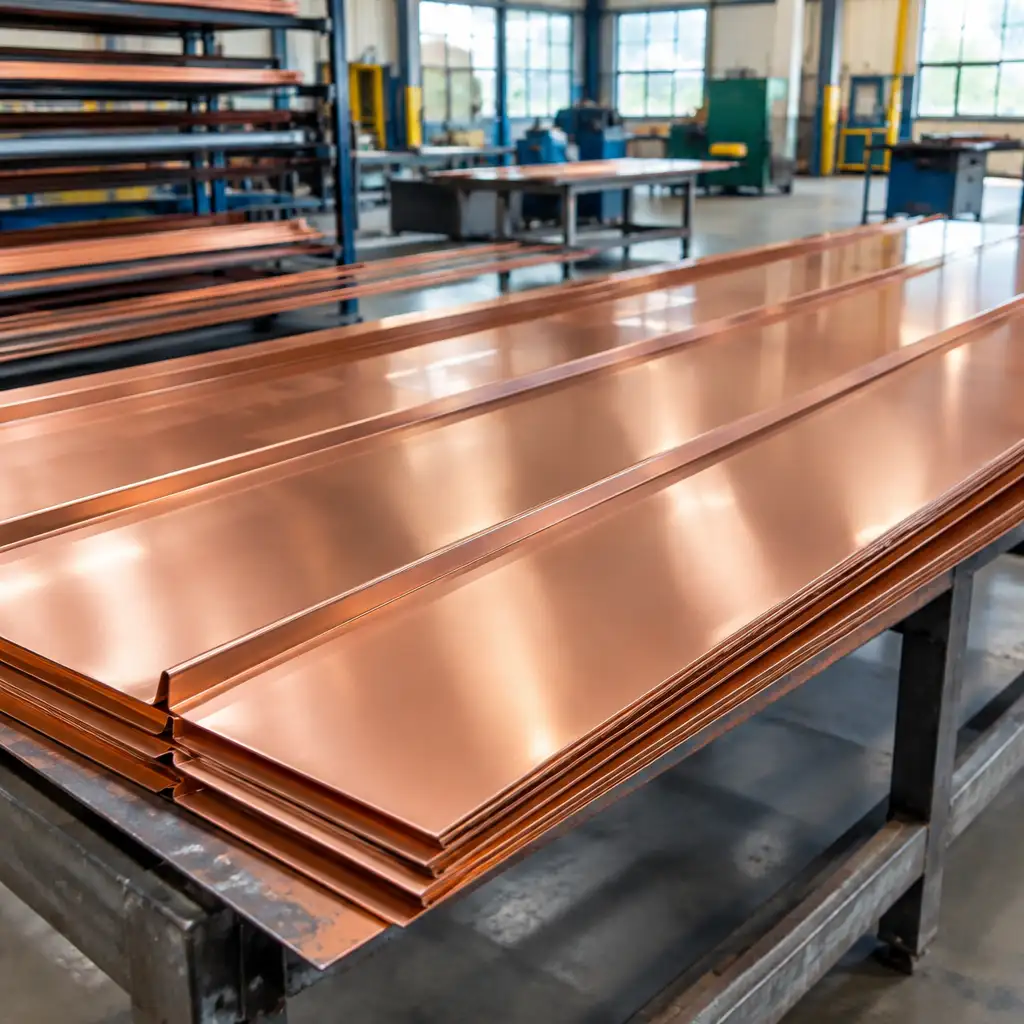
Heavy‑weight 24 oz copper is a preferred material for durable roofing, flashings, and architectural details in coastal New England. Its mass and stiffness provide long service life and a distinctive appearance, but they also create specific requirements for seaming, soldering, and field joining. This article is written for roofing and architectural metal contractors working in Southcoast Massachusetts and the broader New England region who need practical, on‑the‑job guidance when specifying, fabricating, and installing 24 oz copper.
We cover the full workflow from shop preparation to field joins: material handling, seam layout, seaming and solder techniques, portable soldering best practices, detailing for thermal movement, and coastal handling procedures unique to Southeastern Massachusetts. Use this as a technical reference to minimize callbacks, protect finishes, and ensure long‑term performance.
Where relevant, this article references trade‑level resources and fabrication partners. Cape Cod Copper provides contractor-focused fabrication and can supply preformed panels and custom flashings to reduce complex field joins—see our roofing panels and flashings for shop‑precision components that simplify installation.
Throughout the piece you’ll find practical steps that reflect real jobsite constraints in Southcoast Massachusetts: variable weather, salt exposure, and historic building contexts. The target keyword Copper fabrication Massachusetts appears to connect regional search intent with the technical content contractors expect.
- Introduction
- Material Properties and Why 24 oz Copper Demands Different Techniques
- Seam Preparation and Layout for 24 oz Copper Panels and Flashings
- Soldering Methods and Flux Selection for Heavy‑Weight Copper
- Field‑Join Techniques and Portable Soldering Best Practices
- Detailing for Thermal Movement, Anchors, and Expansion
- Coastal Handling, Corrosion Considerations, and Project Coordination in Southcoast Massachusetts
- Frequently Asked Questions
Material Properties and Why 24 oz Copper Demands Different Techniques
Twenty‑four ounce copper (24 oz/ft²) is substantially thicker and stiffer than typical 16 oz or 20 oz sheet, which affects bending radii, seaming forces, and heat transfer during soldering. The added mass means seams require more mechanical advantage to form and more sustained heat to achieve wetting during soldering. These properties should influence both shop layout and field sequencing.
Because 24 oz copper absorbs and dissipates heat differently, preheating thicker sections is often necessary to ensure consistent solder flow. At the same time, aggressive heat can distort panels or damage adjacent coatings or substrates; controlled, even heating and proper backing are essential. Fabricators and installers must be familiar with the thermal characteristics of heavy copper to avoid overworking the metal.
From a fabrication perspective, heavy copper benefits from shop prefabrication where possible. Shop‑formed seams and factory‑applied pre‑soldering reduce the number of complex field joins. When field joins are unavoidable, coordination between the shop and the installer — templates, numbered parts, and agreed seam details — reduces time on the roof and improves quality.
Seam Preparation and Layout for 24 oz Copper Panels and Flashings
Seam success begins with layout and prep. For standing seam panels and long flashings, plan seams to minimize soldered butt joints across exposed surfaces. Where possible, specify shop‑seamed continuous panels from Cape Cod Copper to reduce field work. When field seams are necessary, mark locations clearly, preform returns and hems in the shop, and supply butt straps or backing pieces to speed installation.
Edge preparation is critical: deburr all cut edges, remove mill scale, and clean with an appropriate solvent before flux application. For seaming, maintain consistent hem dimensions and use adequate mechanical backing when folding seams. On 24 oz copper, consider using power seaming tools or leverage blocks to achieve uniform mechanical folds—hand seaming alone can fatigue crews and produce inconsistent results.
Provide clear templates and part numbering with each shipment so field crews can assemble parts with minimal measuring. This approach shortens rooftop exposure times and reduces the number of complex field adjustments that can compromise water‑tightness. Early engagement between contractor and fabricator helps identify areas where shop fabrication of flashings or transition pieces can eliminate difficult field joins—see our roofing panels and flashings for common prefabricated solutions.
Soldering Methods and Flux Selection for Heavy‑Weight Copper
Solder selection and flux choice affect joint strength, appearance, and long‑term performance. For architectural copper, use solders specified for roofing work and conforming to local codes. Discuss acceptable alloys with the project team and fabricator before cutting parts—familiar combinations include lead‑bearing and lead‑free solders, but local environmental and code drivers in Massachusetts increasingly favor lead‑free options. Follow manufacturer recommendations and local regulations when selecting alloy composition.
Fluxes designed for copper roofing are essential to remove oxides and enable proper wetting. Use a flux formulated for architectural copper and compatible with the selected solder alloy. Apply flux sparingly and uniformly; excess flux can lead to acid residues that accelerate corrosion if not properly cleaned. On larger seams, consider flux application methods that maintain coverage during assembly without pooling.
When soldering heavy sections, employ a staged heating method. Heat the mass behind the joint and the joint itself so the entire area reaches a temperature that allows the solder to flow and wet both surfaces. Avoid locally overheating a seam, which can cause burn‑through on thinner attached materials or create uneven capillary action. Practice test joints in the shop with the same alloy and flux to dial in technique before committing to field joins.
Field‑Join Techniques and Portable Soldering Best Practices
Field joins are inevitable on many projects. Portable soldering equipment should be sized to the job: larger torches with controlled flame profiles or propane/propane‑oxy mixtures allow rapid, even heating of heavy copper. Use heat shields and reflective blankets to protect adjacent materials and workers. Maintain fire watch and follow OSHA and local fire codes, especially when working near combustible substrates.
When possible, prefit joints on roof staging or mockups to verify fit and clearance. For butt joints, use backing strips or mechanical clips that hold parts true during soldering. Clamp or tack mechanically before applying heat so parts do not gap while the solder flows. Keep a supply of scrap copper for test heating; test pieces confirm solder behavior at ambient jobsite temperatures.
Protect finishes and adjacent work. On coastal projects, salt deposits can interfere with soldering; pre‑clean field surfaces before soldering and use temporary covers to keep joints dry. After soldering, remove flux residues per manufacturer’s instructions and rinse affected areas if salt contamination was present. Document field joins with a photo log for quality assurance and future maintenance reference.
Detailing for Thermal Movement, Anchors, and Expansion
Thermal movement is amplified in heavy copper assemblies due to long runs and large temperature swings in New England. Design details should allow movement without transferring stress into soldered seams. Use slip joints, folded offsets, and expansion joints where long runs meet fixed points. Avoid rigidly soldering across sections meant to move.
Anchors and clips must be specified to permit movement while retaining water‑tightness. Slotted nail holes, sliding clips, and properly sized cleats allow for thermal expansion. When securing flashings into masonry or wood, use anchor systems that accommodate movement and isolate dissimilar materials to prevent galvanic action, particularly important in coastal installations where salt can exacerbate corrosion.
At transitions—parapets, valleys, and roof penetrations—allow for differential movement between copper and adjacent materials. Details should include back‑up flashing, mechanical seams designed to accept movement, and solder only where it reinforces, not restricts, anticipated expansion. Review these details during preconstruction meetings to ensure both the fabricator and field crews understand the intended behavior under thermal cycling.
Coastal Handling, Corrosion Considerations, and Project Coordination in Southcoast Massachusetts
Salt air and cyclical humidity in Southcoast Massachusetts make careful handling and storage of copper essential. Ship and stage 24 oz copper with protective covers; avoid prolonged exposure in the salt spray zone prior to installation. If panels or flashings arrive with surface salt contamination, rinse with fresh water and allow to dry before joining or soldering to reduce the risk of white rust and ensure solder adhesion.
When working near masonry or other metals, specify appropriate separation and isolation methods to prevent galvanic corrosion. Use non‑conductive sealants or isolators where copper meets dissimilar metals, and avoid trapping moisture between layers. For historic restoration projects common in New England, verify substrate compatibility and preservation requirements before selecting adhesives, fasteners, or sealants.
Coordination between fabricator and contractor has added importance on coastal projects. Communicate expected staging, delivery windows, and tolerances so that shop‑made assemblies arrive ready for quick installation. Cape Cod Copper works with trade professionals to ensure parts are labeled, templated, and sequenced to meet jobsite constraints—early coordination reduces rooftop time in unpredictable New England weather and minimizes exposure to corrosive salt air.
Frequently Asked Questions
Q: What solder alloy do you recommend for 24 oz copper roofing?
A: Alloy selection depends on project specifications and local codes. Discuss lead‑free and leaded options with the project team and fabricator. Conduct shop trials with the chosen alloy and flux to confirm joint behavior and appearance before field application.
Q: How do I minimize movement stresses on long runs of 24 oz copper?
A: Incorporate slip joints, slotted anchors, and expansion details in the design. Avoid continuous rigid soldering across sections intended to move; allow mechanical connections that permit thermal elongation and contraction.
Q: What on‑site practices protect copper from coastal salt contamination before soldering?
A: Store material under cover, rinse contaminated surfaces with fresh water before soldering, and keep joints dry. Schedule deliveries to minimize rooftop staging time near salt spray and coordinate with the fabricator for prefabrication to reduce field exposure.
Working from drawings, field measurements, or a custom detail? Cape Cod Copper partners with trade professionals to fabricate copper components made to fit the job, from custom flashings and roof panels to leader heads, chimney caps, vents, and decorative architectural details. Call (508) 946-1999 or email capecodcopper2@gmail.com to review your project requirements.